Ready to DIY ceiling and wall drapery for your next party or an upcoming wedding? If you’re looking to add some style and drama to your event, then this post is for you. Fabric is a simple and affordable way to transform any event space, and with a little bit of creativity and some basic tools, you can easily create a stunning effect on your own. Learn the steps of creating your own ceiling and wall drapery, from selecting the fabric, knowing how much to order, and hanging the finished product. Whether you’re a seasoned DIYer or a beginner, we’ve got you covered with tips and tricks to help you achieve professional-looking results. So grab your tools and let’s get started!

How I Learned to DIY Ceiling and Wall Drapery
For my daughter’s wedding, we wanted to incentivize her to stay on budget and allow us to DIY most of her decor. To do so, we set her a very modest budget for the whole wedding and told her whatever she did not spend, we would double and give to her as cash. We felt it allowed her to use her creativity to stretch a dollar and give her the opportunity to start off her marriage with a bit of extra cash in savings. She did an amazing job and you’ll find many of the projects we did to save money here on the blog.
My daughter had one very specific request when it came to the decor of her reception space. She didn’t want it to look like a church gym. I can understand that completely, but the problem remained that it WAS a church gym! Our family had been to countless wedding receptions in that gym and I spent a long time trying to figure out how to make it unrecognizable.
To completely transform the space, I knew I was going to have to learn the secrets of a DIY ceiling and wall drapery. Outside of DIY-ing her wedding cake, this one task was what I was the most nervous about. Many a night, I found myself wide awake at 2:00 am trying to figure out how I was going to get it to work. This was her most important of all her wedding decoration ideas and I wanted to get it right for her!
Materials and Tools Needed to DIY Ceiling and Wall Drapery
- Lightweight fabric – organza, chiffon, gauze, tulle, or muslin
- Large heavy-duty eye bolts
- Heavy-duty braided fishing line – 100 lb strength
- Turnbuckles
- Drill
- Scissors
- Measuring tape
- Stud finder
- Small safety pins
How to Drape a Ceiling and Walls with Fabric
Time needed: 6 hours
How to Drape a Ceiling and Walls with Fabric
- Get clearance from your event space
They may already have the hardware installed in the walls and ceiling. If not, you will need their permission before installing eye bolts into their space.
- Determine where to add eye bolts around the space
Eye bolts will hold the weight of all the fabric and they have to be installed into studs in the wall. Wall anchors are not strong enough to hold both the weight, as well as withstand the pulling force of the wires.
- Select the fabric you will use as the drapery
Use lightweight fabric that will be sure to stay up during the event. You also need to decide if you want a sheer or opaque fabric.
- Plan the location of the support wires and the direction of the fabric
Create a scaled drawing of the space. Marking the location of eye bolts, where the wire will run, and the direction of the fabric. Take detailed measurements. This is not a place to guesstimate. Don’t forget to have the middle line higher than the side lines.
- Calculate how much fabric you need
The amount of fabric you need depends on whether you want a solid covering across the ceiling and walls and what type of fabric you have selected. If you have a sheer fabric, you will want to install it folded over on itself so it isn’t too see-through. Don’t forget to calculate the amount of swag or droop in your ceiling by adding 30% more fabric to that measurement.
- Install the eye bolts
Measure and mark the location of each eye bolt. Be sure they will be going into studs inside the wall. Predrill the hole in the drywall and stud, making the hole slightly smaller than the size of your bolt.
- Install the wire and turnbuckles
Tie the heavy-duty braided fishing line onto one turnbuckle. Attach it to one of the eye bolts and run the fishing line along one wall. Attach another turnbuckle to the other end and attach to the eye bolt. Adjust the turnbuckles to make the fishing line very tight. Repeat for the remaining lines.
- Hang the fabric
Run the fabric up and over the lines. If possible, do not cut the fabric until the rest of the fabric is in place. If you do need to cut it, leave a few extra feet to make adjustments at the end.
- Make any needed adjustments
Once all the fabric is up, adjust the spacing and amount of swag in the ceiling pieces so they are all equal. Use small safety pins to attach the fabric to the lines and to the fabric pieces around it to close the gaps.
- Add uplighting
While this step isn’t required, the uplighting takes the whole space to another level and highlights the beauty of the draped ceiling and walls.
DIY Ceiling and Wall Drapery Step-by-Step Instructions
Step One – Get Clearance from the Event Space
Whether you are using your church’s gym, or renting out a local party center, you have to get clearance from the owner to install DIY ceiling and wall drapery. Because there needs to be a few eye bolts drilled into the walls and ceiling, you can lose your deposit without first getting clearance. If you are lucky, they already have some installed.
Step Two – Determine Eye Bolt Locations
If eye bolts already exist in your space, measure their location and mark them on your plan. If you need to install eye bolts, find the studs you can drill them into. Again, measure and mark them on your plan. Don’t use wall anchors. They will not be strong enough to hold the weight of the fabric combined with the pulling from the fishing line.
The one stipulation I had from our church before taking on DIY ceiling and wall drapery was that I needed to use the eye bolts that were already there. They did not want any more added, which is completely understandable. With this restriction, we had to ditch our plan to use a ceiling ring hoop and instead used a tent design for our ceiling and two walls. For the open ends of the tent, we attached the fabric to the walls using straight pins.

Step Three – Select the Fabric
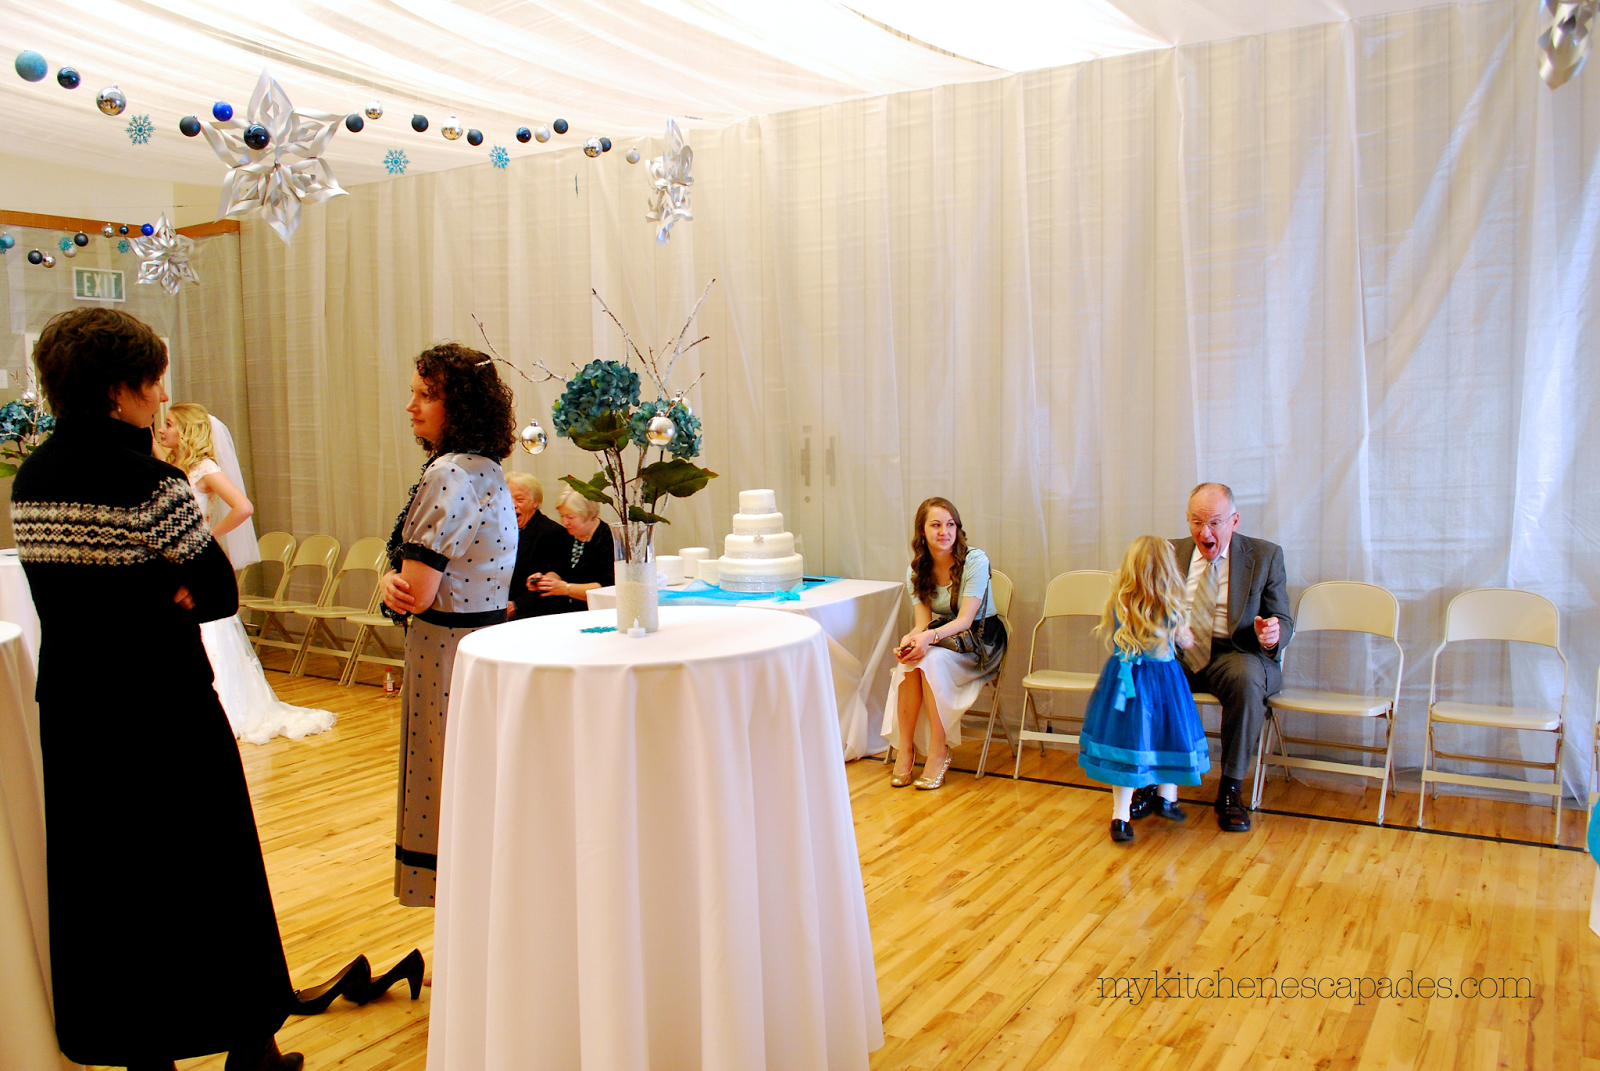
You need to use lightweight fabric that will be easy to hang and not too heavy. You also need to decide if you want a sheer or opaque fabric. If you are in a smaller space, I highly suggest something sheer to keep the area from feeling too closed off. Organza, chiffon, gauze, tulle, or muslin are all great options.
The material I used for the ceiling draping was a shimmer white organza that I bought from Gifts International. It certainly wasn’t the highest quality organza I have ever seen, but that didn’t matter to me. I wasn’t making a dress. I just needed the effect! So, I bought 460 yards and only paid $250. For those who don’t know, that is a killer deal.
Step Four – Plan the Location of Support Wires and Direction of Fabric
Now that you know where your eye hooks will be and which fabric you will be using, it’s time to put pen to paper and plan out the specifics, along with measurements. Where will your support lines run? Which direction will the fabric run? Can you use single lengths of the fabric so you don’t have to sew anything? Double-check all your measurements in the space so you can confidently move on to the next steps.
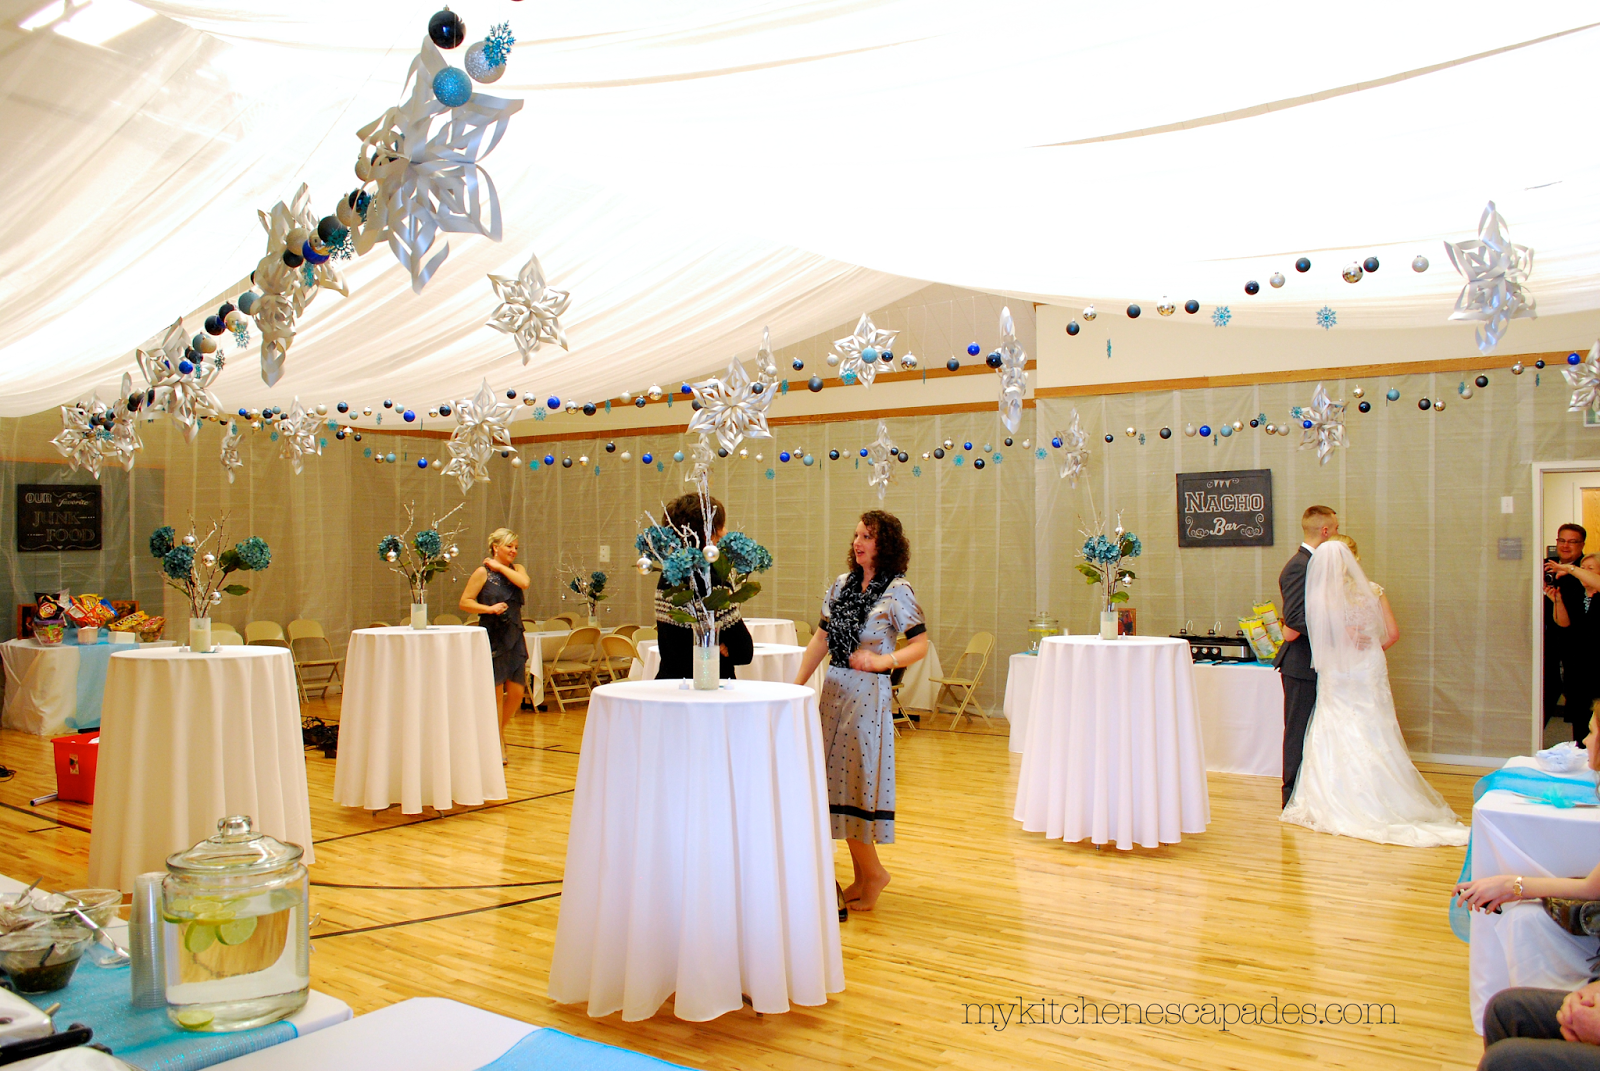
For a tent design, we only had to run three wires. One wire that was a high middle wire across the width of the center of the gym. The other two were lower wires along each end of the gym. Be sure your middle height is at least a couple of feet higher than your ends.
Step Five – Calculate How Much Fabric Needed
The amount of fabric you need will depend on the effect you are looking for on the walls and ceiling. Do you want a solid tent across the whole ceiling and walls or just strips of fabric scattered around the room? If you have a sheer fabric, you will want to install it folded over on itself so it isn’t too see-through. This is what we did. So our bolts of fabric were 60” wide, but we only got 30” of width since we installed it folded in half.
In your calculations, don’t forget to include the amount of swag or droop in your ceiling by adding 30% of extra fabric to your ceiling measurements. I would suggest adding an extra 10-20% to your final fabric amount to cover any “surprises” that will come along when the plan doesn’t go exactly as planned.
Step Six – Install the Eye Bolts
Measure and mark the location of the eye bolts, confirming with the stud finder that there is a stud where you need to install the bolt. Use a drill to predrill the hole for the eye bolt, using a drill bit that is smaller than the size of the bolt so the threads will have something to grab onto once installed.
Step Seven – Install the Wire and Turnbuckles
Purchase turnbuckles that have a hook on one side and a loop on the other. This allows you to tie the fishing line onto the loop end and then the hook goes onto the eye bolts. Install a turnbuckle on each end of the line and attach them to the eye hooks. Adjust the turnbuckles to make the line very tight.

Step Eight – Hang the Fabric
Run the fabric up and over the installed fishing lines. If possible, do not cut the fabric until the rest of the fabric is in place. This gives you the freedom to adjust as needed. If you do need to cut it, leave a few extra feet to make adjustments at the end.
For our space, we started on one end on the floor, fed it up and over the wire, across the middle wire, and then down to the other end wire, then down to the floor. We got lucky because we used bolts of material that had 23 yards on each and that was the perfect amount to go the whole length. It also gave us a bit of material for a draping effect from point to point on the ceiling. No sewing is required for this DIY ceiling and wall drapery!
Step Nine – Make Adjustments to the Draping
It will be difficult but don’t make adjustments until all the fabric is hung on the ceiling and walls. You’ll only end up having to go back and adjust it all again later. Use small safety pins to attach the material to the wires so they don’t slip. And then to pin together any strips of material that were gapping
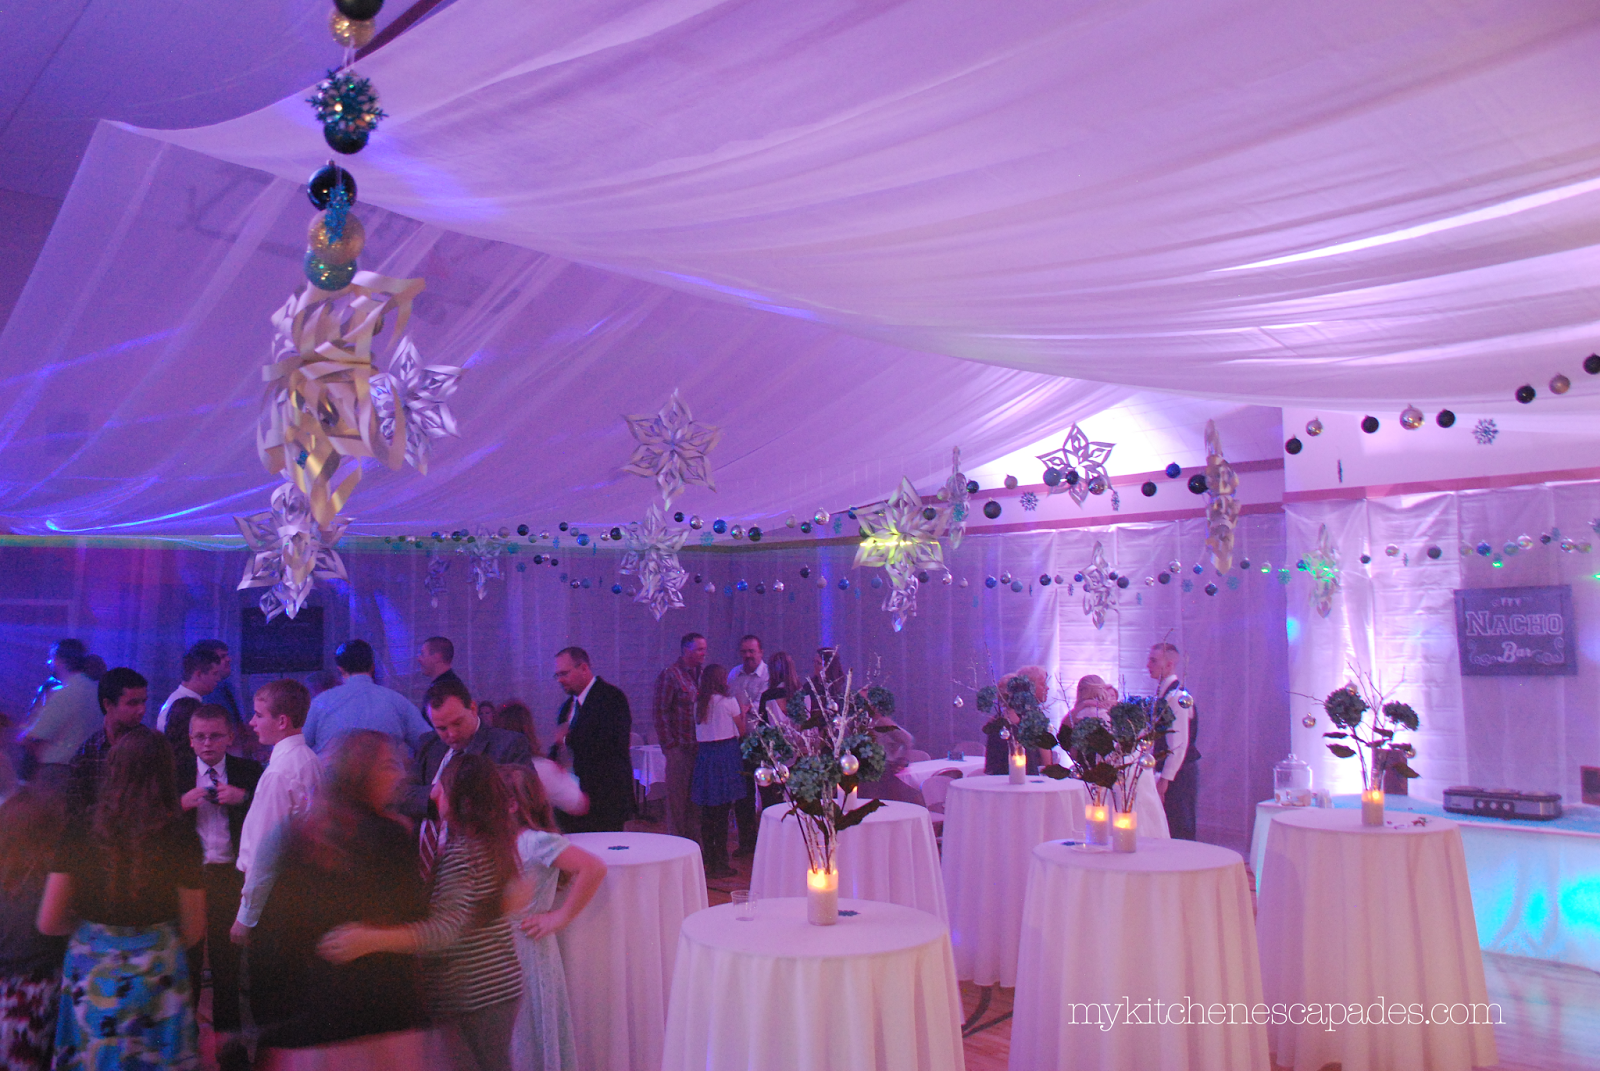
Our theme for the day when we were hanging this massive amount of organza on the ceiling and walls was “It doesn’t have to be perfect. It is going to be dark.” It is easy to obsess over every little seam and bump, but the reality is, once the party started and the overhead lights were turned off, and the uplighting was turned on, it was nothing but a glittery, magical space. Even I didn’t notice the not-so-perfect sections.
Step Ten – Add Uplighting
This last step certainly isn’t required but makes such a massive difference to a DIY ceiling and wall drapery job. It adds softness and drama to all your hard work. And believe it or not, helps hides the imperfections.
During the day and with the overhead lights on, we were a bit frustrated with how see-through the organza was. But again, once the lights were off and the lighting scheme going, it was perfect. The shimmer in the organza did a great job of reflecting the up-lights around the room and the lights from the DJ. It was a pure winter wonderland!

DIY Ceiling and Wall Drapery FAQs
To keep the drapery from becoming too heavy for the support wires and bolts, be sure to use lightweight fabrics. Organza, chiffon, gauze, tulle, or muslin all work very well to drape ceilings or walls.
The amount needed depends on how you want the finished ceiling to look, and the type of fabric you are using. If you choose a sheer fabric like organza, you will want to drape the ceiling with two layers of the organza so it isn’t too see-through. When calculating the amount of fabric needed to span the ceiling with a bit of droop (or swag) between the connection points, add an additional 30% of fabric to the ceiling measurement.
How long does it take to DIY ceiling and wall drapery?
So how long did all this draping and wall covering take? There were 6-8 of us working on it and it took us about 7 hours. Now, having done this once before, I think I could easily do it again in 4-5 hours. Luckily for me, my next oldest child is only 17. I have some time before having to whip up this skill once again!
If I would have had a detailed tutorial on how to DIY ceiling and wall drapery like this one, I know it would have taken us significantly less time. But like all big projects, you go in with a detailed plan. Then, spend most of your time troubleshooting all the unexpected problems that pop up along the way.
Looking for More Great DIY Wedding Ideas?
I have a whole series on throwing a wedding on a budget that is simply gorgeous! You can see all 16 different articles by clicking here.


Looking for more than wedding decor? Subscribe to My Kitchen Escapades to get new recipes delivered straight to your inbox! You can also stay in touch on TikTok, Instagram, Facebook, Pinterest, and YouTube for all the latest updates!


82 comments
So much work!!!! How wide was your organza and do you remember how many widths you ended up draping?
It was a ton of work, but the end result was so gorgeous! We used the organza doubled over on itself like it came off the bolt of fabric just to make it a little less opaque. We bought 60 inch wide and 460 total yards.
Thanks! I am sorry to bug ya, but one more question…Did ya buy 10 yard bolts or 25 yard bolts. It doesn’t really matter except it would be easier to have the right length so I won’t have to cut and sew any of them. Thanks for your help.
It was 25 yard lengths but it will all depend on the size of the room you are using if that will be long enough on its own
Hi, I’m trying to drape an unfinished ceiling. The material I’m using is satin. I’ve read your comments but I’m still clueless as to what materials I need and the installation process. When you mentioned wire is that fishing line? Please what type of wire? Do I need to tack the wire to the rafters? I’m in need of some help!!!
Hi Lo! With using satin, it is considerably heavier than the material I used. You will need to do more than tack the wire to the rafters. You will need to screw some eye hooks into the rafters and feed the wire through it. Do not use fishing line because it will only stretch or bake. You can buy metal wire on a spool from a hardware store
Ok…. So I screw the eye hooks and then feed the wire. But how do I put the fabric up? Is it fed on top of the wire? Won’t the rafters be exposed? I’m trying to hide it. Ugh!!! I’m so clueless!!!! 🙁
The wire acts like the poles of a normal tent and yes, the material drapes over the stretched wire. run wire along all four walls. You then run the fabric up and over the wire on one wall, across the span of the room then over the wire and down the opposite wall. I worry about the weight of satin doing this if you have a large room. That much material will be heavy. Also, you will need a bunch of small safety pins to keep the material in place and slipping
You realize that is a minimum of 40 man hours plus material costs which equals approx a minimum of $1150. and you could hire a professional to do this for you for maybe $100-$200 more and not have to deal with it.
Just saying DIY is not always worth it!
Very true Kim but when you live in the middle of nowhere Minnesota, there are zero professionals to hire to do it :). It was us or no one!
Thank you so much for this! We’re having our wedding in a church gym as well.. and I really want something pretty for pictures. A church gym, to me, doesn’t seem like it would be very photogenic. This gave me a few ideas of something I’d like to try (and hopefully my fiance will go along with it!).
The link you gave to the fabric website is fantastic with the prices. So thank you again!
You are very welcome Rynnae!
If you already answered this I apologize in advance, but what were the gym dimensions you were dealing with
It was about 50 ft x 55 ft
You haven’t mentioned how you reached the top of the gym ceiling…did you have to use a cherry picker or scissor lift?
We never had to reach the gym ceiling Angie :). That is the beauty of this design. We ran wire along all four walls and draped it across the gym. The gym ceiling was easily 2 stories high but the draping was only one story high.
Thank you so much for this! It is exactly what my daughter wants to hide the fact that her reception will be in a cultural hall! I really appreciate all the detail that you included. It is so helpful to not have to reinvent the wheel! Now she just needs to pick which building, so we can measure and check for eye bolts!
Good luck Jeanae! It is a lot of work, but the end result was so worth it!
How did you attach the organza to the wire? I found the turnbuckle, eyebolts, and fabric, but Im not sure how you attach the fabric to everything? My venue has 3 hooks that look similar command hooks at a focal point and chain attached around the perimeter of the venue. I am looking to attach 4 panels of organ from the focal point on the wall (not the ceiling) and drape across the chains on the perimeter of the venue. Please help!
The way we had it draped, we didn’t need to attach it to the wire but you could certainly use some small safety pins. We did use some of those in certain places where the organza didn’t want to hang correctly. Good luck Monique!!
Hello! Was it the sheer organza or the crystal organza that you purchased and what is the details o the table covers?
Thanks
Hey there Tierra! We used crystal organza which was beautiful with the up-lighting. For the table covers, I purchased some inexpensive white tablecloths since our church had some but they weren’t in the best condition.
Hi if we have a tent 30×80 how much material do we need for draping the top?
Hey Ross! My head is still swimming from doing all the math from our own wedding. It isn’t ready to figure out yours 🙂 There are tips about how much material we ordered compared to the room measurements in the post. I always suggest ordering extra because too much is always better than too little! Good luck