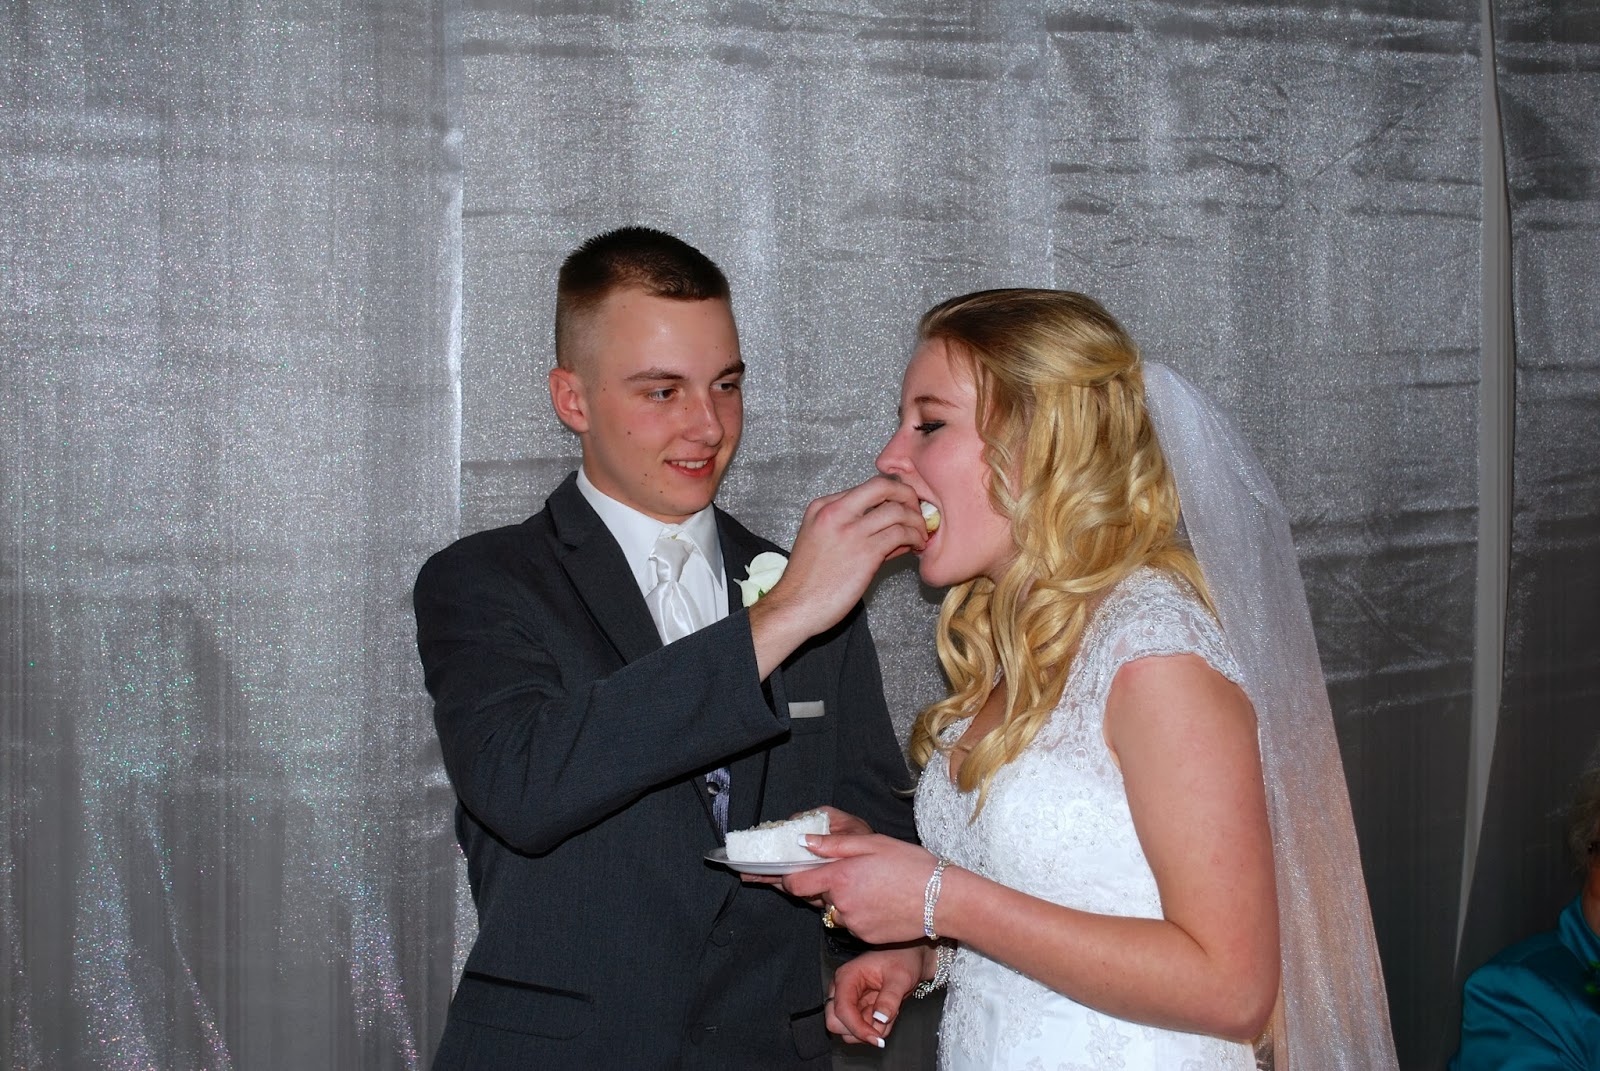
Besides the dress, I think one of the most important wedding decisions is the wedding cake. Everyone wants to see it. Everyone wants to taste it. Everyone wants to watch the bride and groom smoosh it into each other’s faces.
At my daughter’s wedding, my son in law was kind…..
My daughter was not……
Outside of the dress, the wedding cake can be one of the most expensive budget items on your list! Please believe me when I tell you that there is no reason to pay someone else hundreds (or thousands!) of dollars for a gorgeous and delicious wedding cake. You can do it!! Really…..you can!
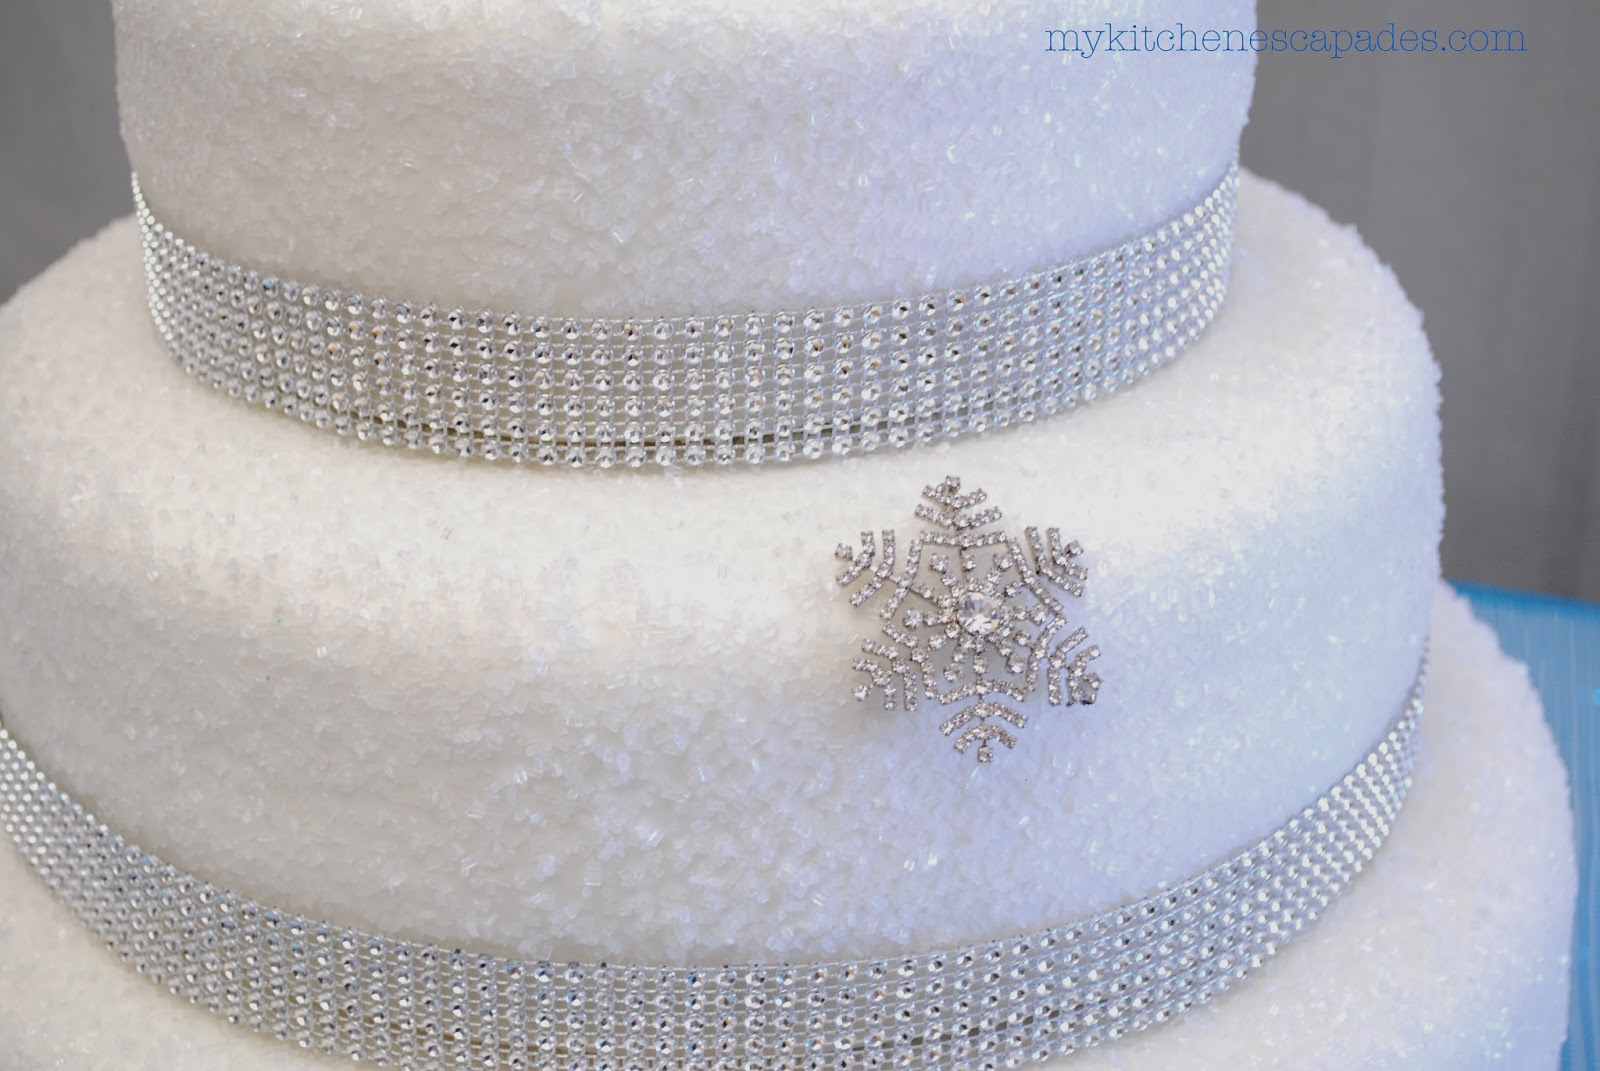
This wedding cake received great praise from our 150 guests, both for the taste and for the appearance. I was so pleased with how it turned out and the reaction it got. Want to know the best part? It was the easiest cake to decorate but didn’t lose any of that “WOW!” factor.
When my daughter asked me to make her wedding cake, I told her yes, but with conditions. (Not like I was busy with every other detail of the big day….) First condition was that it all had to be one flavor of cake and frosting, white. I didn’t have time for 4 different cakes with 4 different frostings!!! The second condition was that we had to come up with a way to decorate it that was quick and simple.
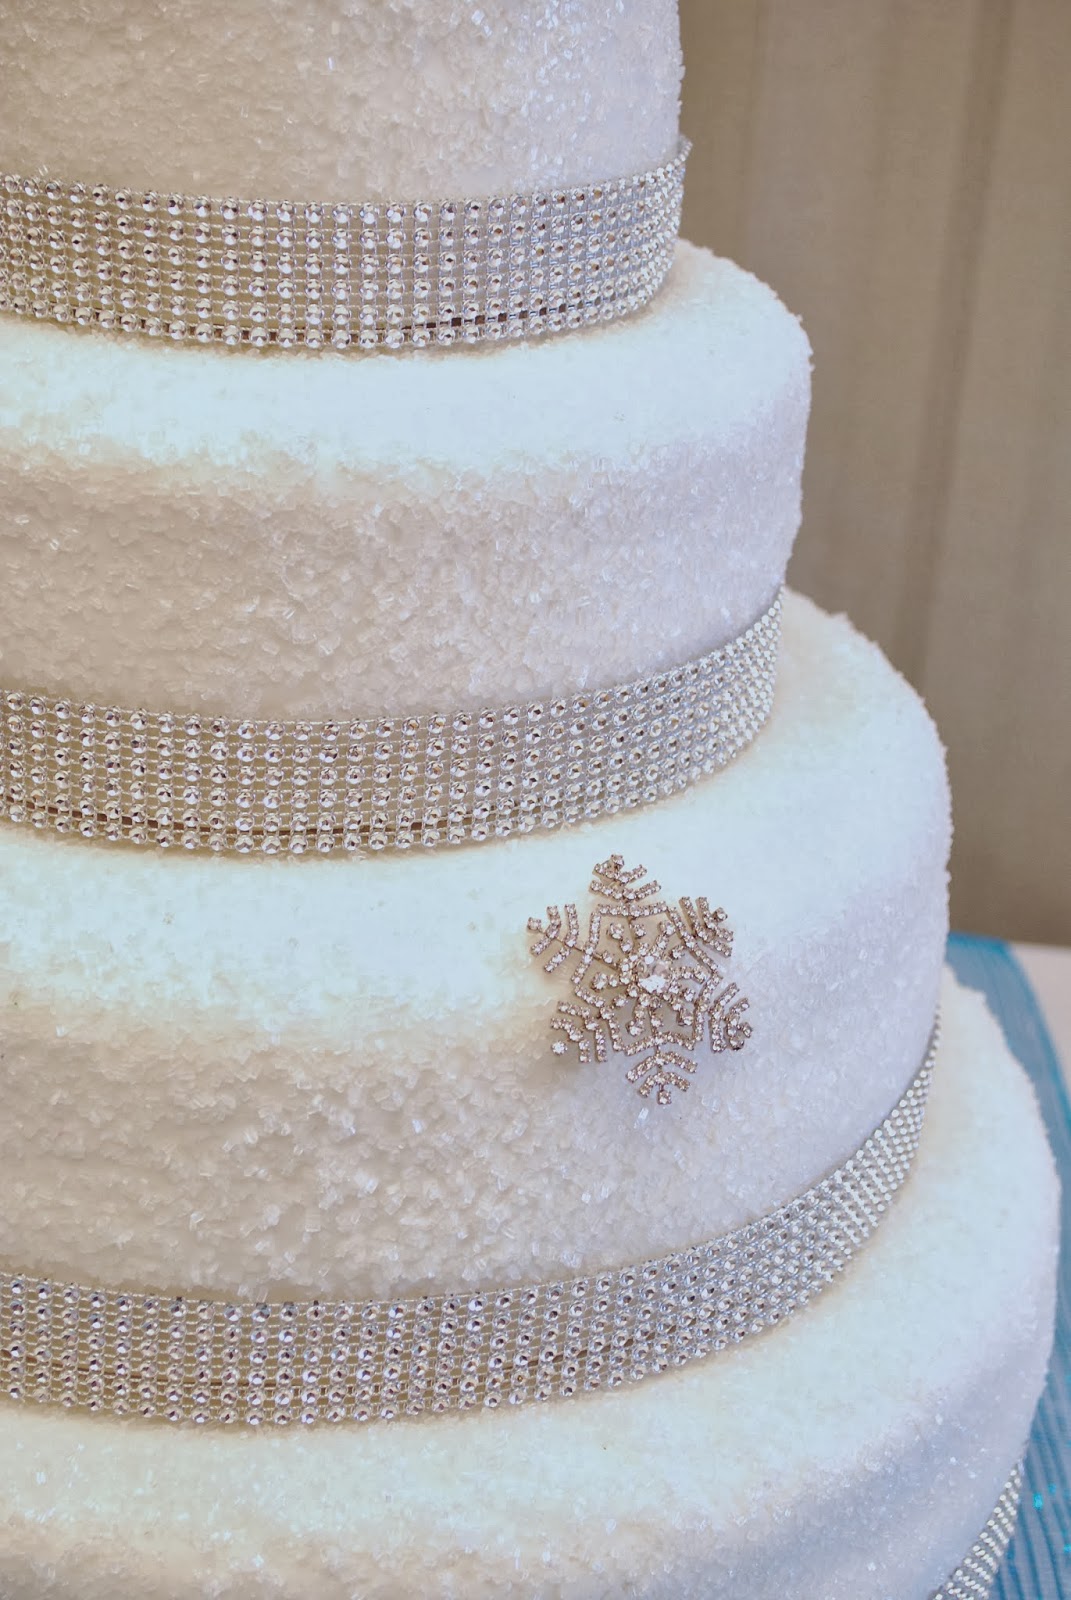
So how much cake did I end up making? The cake was 4 double layered cakes: 15 inch on bottom, then 12 inch, then 9 inch and finally a 6 inch on top for the bride and groom. For 150 people, there was plenty of cake and we brought home about half of the bottom 15 inch layer.
So where did I get all my cake making and decorating supplies? Amazon. The cake pans, the cardboard discs under each layer, the rhinestone banding, the snowflake brooch and the clear decorating sugar crystals all came from Amazon. I live in the middle of nowhere, so Amazon was my cake supply store!
I actually baked all the individual cake layers two weeks before the wedding, when things were a bit calmer. After they cooled, I double wrapped them in plastic wrap before freezing them. Before I frosted them, I allowed them to thaw on the counter for a few hours.
To frost them, I used a basic white buttercream frosting both between the two layers and to frost the outside of the cake. Don’t worry if you aren’t that great at getting a perfectly smooth layer with buttercream because you are going to cover it all with fondant! Just get it as smooth as you can. Allow the frosting to harden up on the outside before applying the fondant.
I used
my recipe for marshmallow fondant to cover the cake because I find it easier to work with and better tasting than the store bought type. Feel free to buy your white fondant to save yourself some time. Again, I made my fondant the week before and kept it wrapped tightly in the fridge until I needed it. A few seconds in the microwave will soften it up and make it perfect to work with.
Again, if you are nervous about using fondant, DON’T BE!!! If you can roll out play dough, you can roll out fondant!!! Plus, any imperfections, dents or small tears will be covered with the sugar crystals! If you have never worked with fondant before, make a practice cake with the smallest layer of your cake. Practice frosting it. Practice rolling out the fondant. Practice applying it to the cake. Who cares what your trial one looks like? Rip it off, touch up the frosting and practice again! A couple times and you will see how truly simple fondant is to work with. Remember, a bit of work and practice will be saving you a ton of moolah!
Roll your fondant on a countertop dusted lightly with cornstarch to about 1/4 inch thick and in a large enough circle that you have a bit of excess after it drapes over the top and down the sides. You can go thinner with the fondant, but I like it around 1/4 of an inch because the thicker it is, the more flaws it covers without them showing! Use a pastry brush to lightly wet the dried outside layer of buttercream frosting before moving the fondant onto the cake. You need to do this so the fondant sticks to the cake.
Roll the fondant onto your rolling pin and transfer it onto your cake. If it is off center, or needs adjusting from where you placed it, just carefully grab each side and adjust it. Use flat palms to smooth out the top of the cake first, then gently begin to work your way down the sides. To keep the fondant smooth and not fold over on itself as you work your way down the sides, gently pull the fondant away from the side of the cake with one hand while you smooth it with the other hand. Here is a great video showing the whole fondant technique.
Once you have your cake covered in fondant, get ready to cover up those imperfections! Use a pastry brush to lightly wet the surface of the fondant and sprinkle on a heavy layer of sugar crystals. To do the sides, load up your palm with the sugar crystals and begin at the bottom and run your hand up the side of the cake to the top. Reuse any crystals that fall onto your work surface. If you miss any spots, hit them with a bit of water and more crystals. Viola!
To add the rhinestone ribbon, cut a length of ribbon that is long enough to wrap around the whole circumference of the cake. Have the seam meet in the back of the cake and use straight pins to secure the ribbon in the back of cake. If you are stacking more than a couple layers of cake, you need to cut some small dowels to the height of the cake and push them into the center of the lower levels to support the weight of the upper levels. I used 1/4 inch dowels and put 4 supports into each lower layer. The wooden supports, ribbon and straight pins just need to be removed before serving!


14 comments
[…] come, I will share all the fun pictures and details of the wedding. If you missed it, be sure you check out how gorgeous the wedding cake turned […]