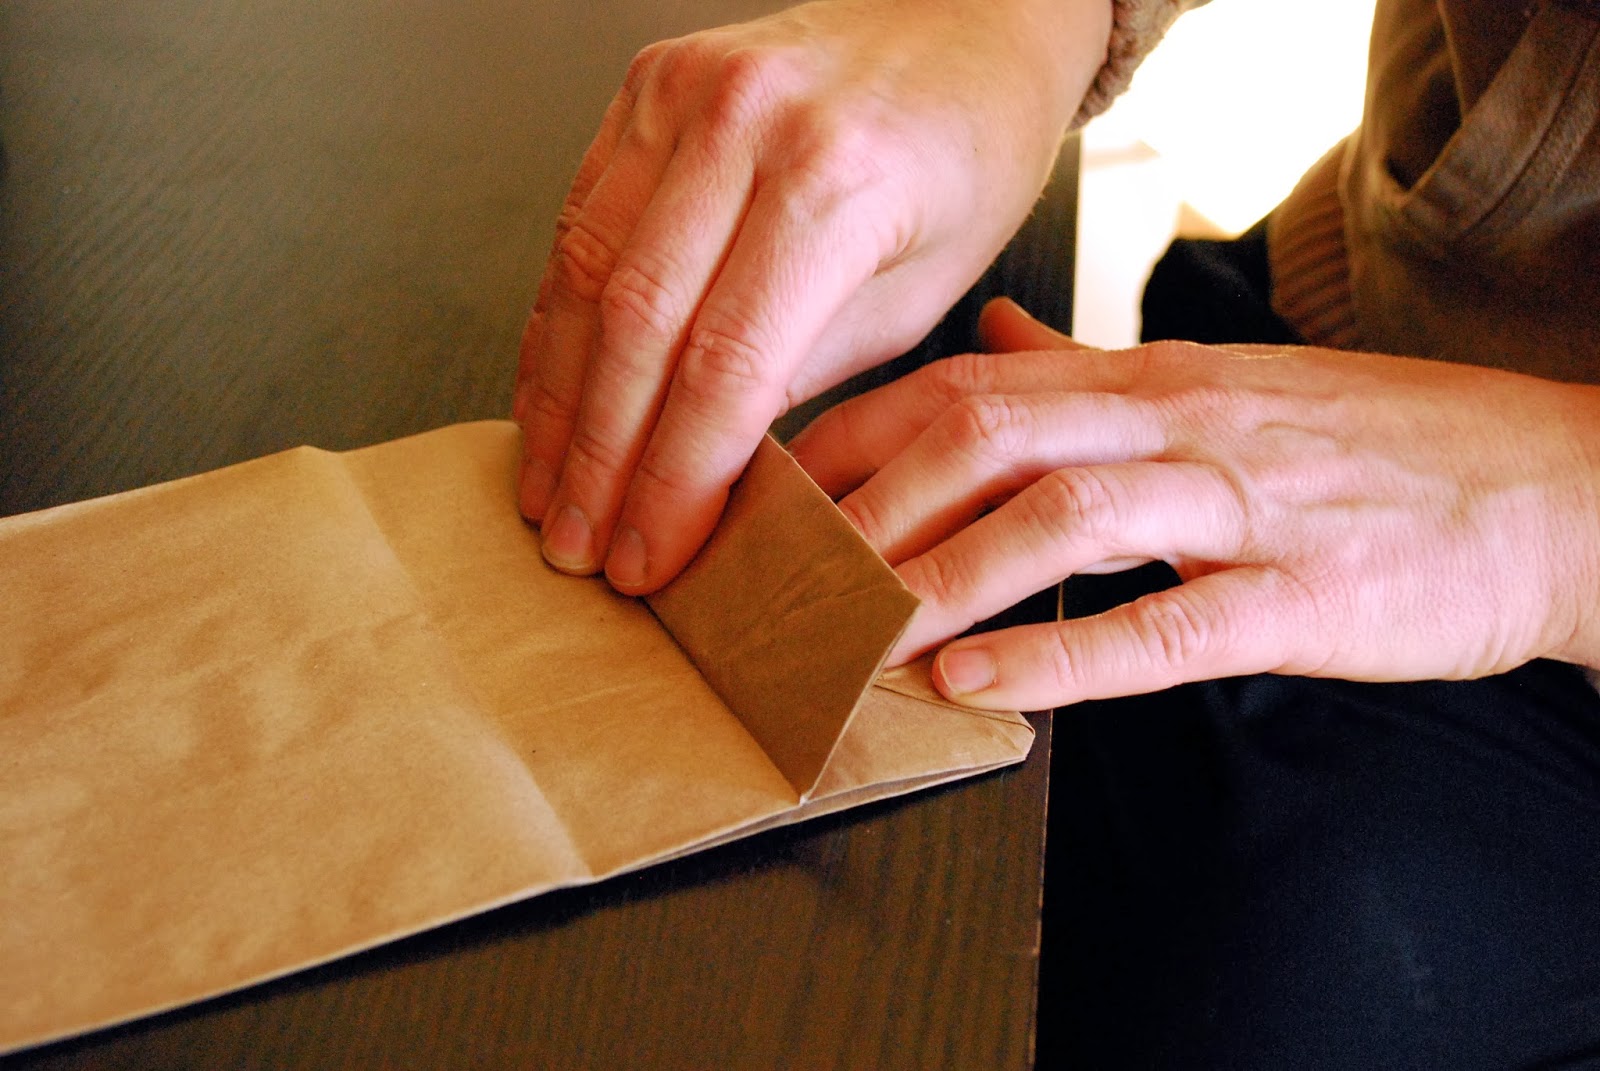
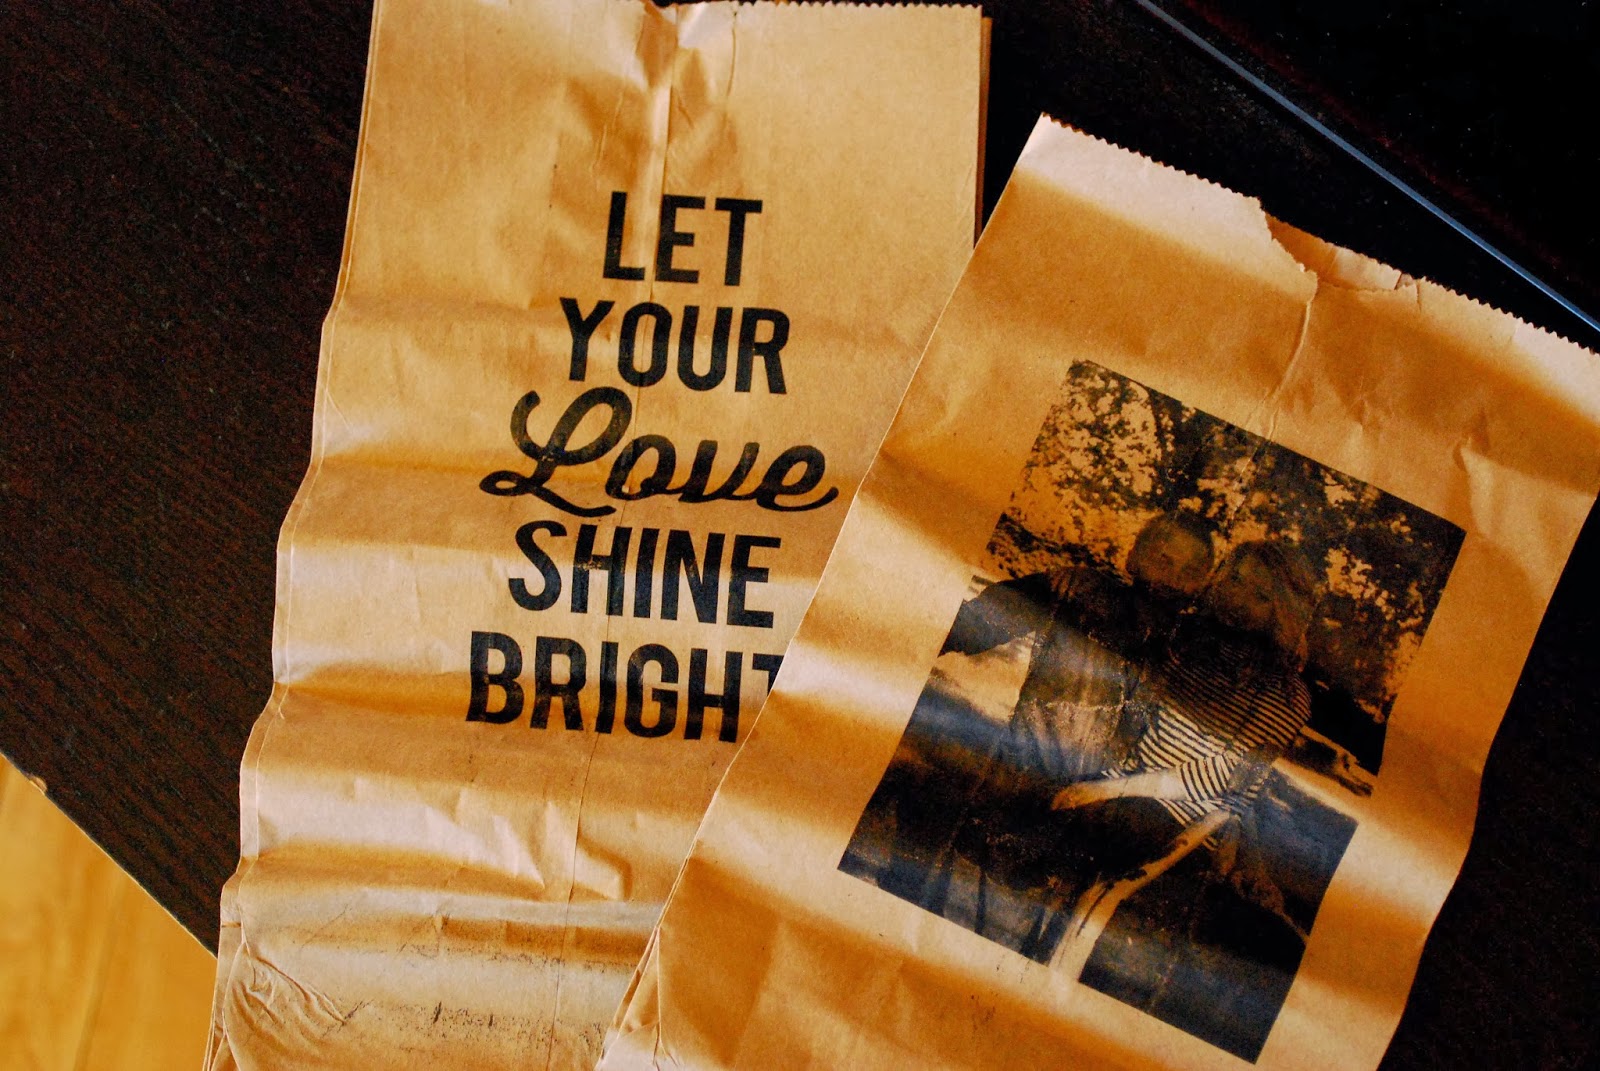
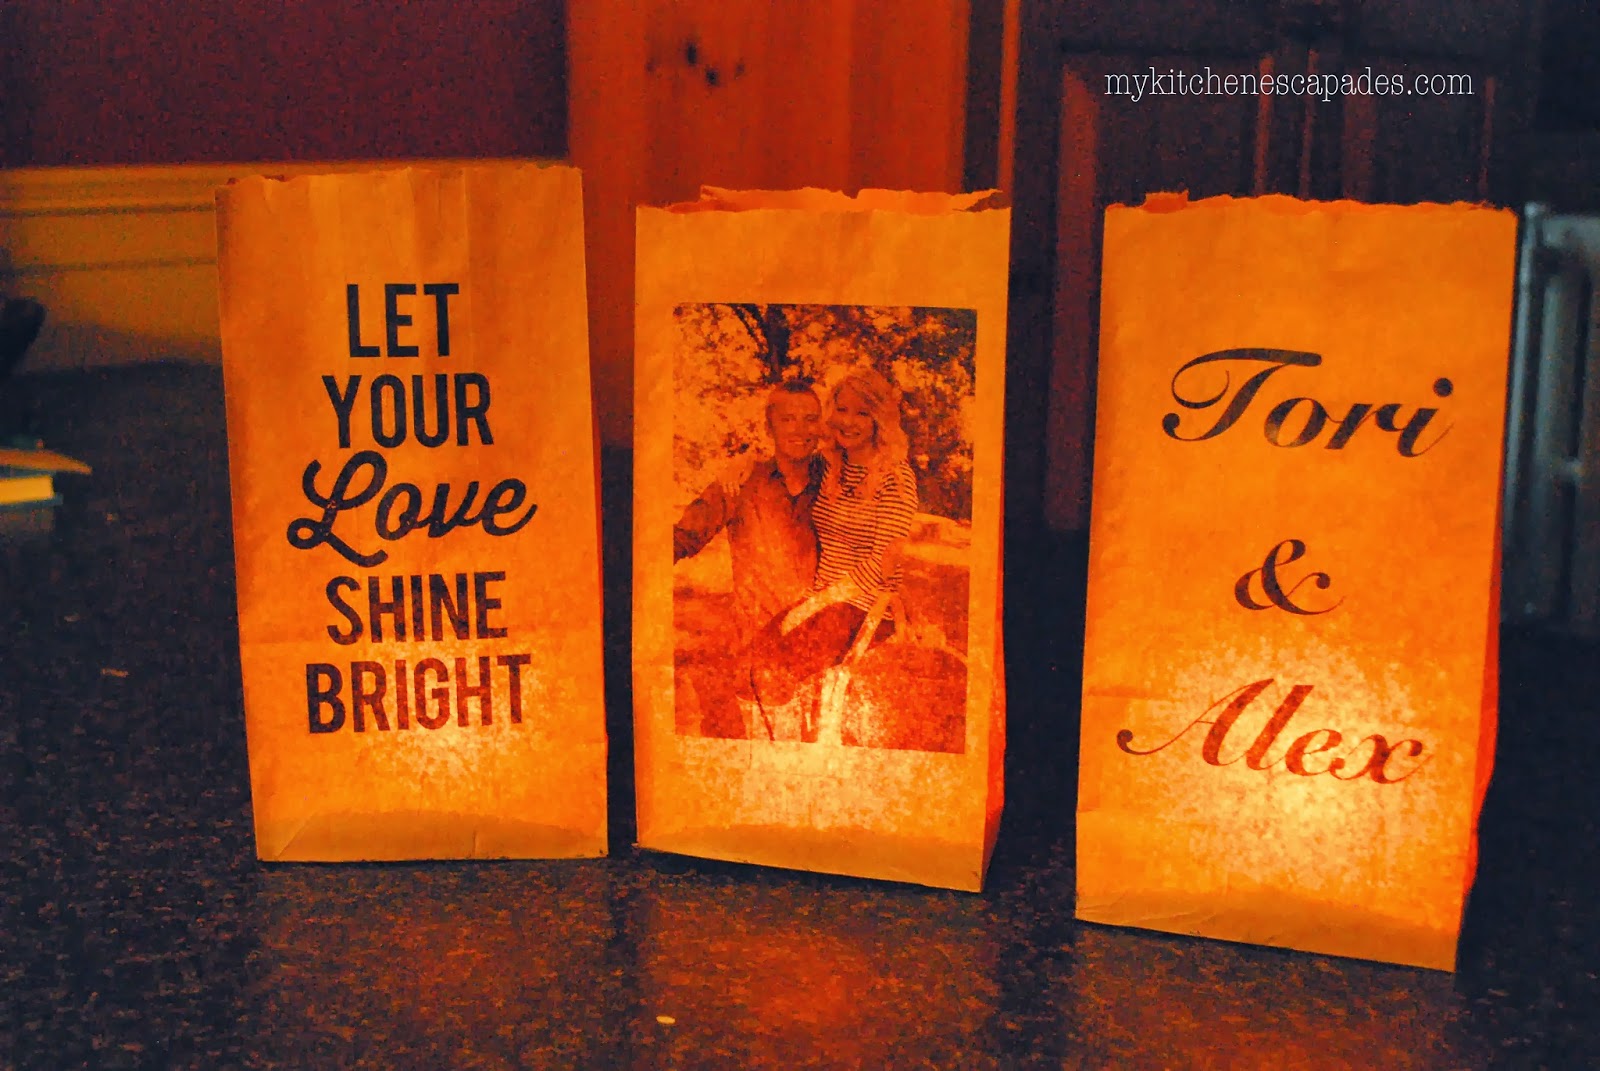
Once you have your design ready to go, you need to prepare your paper bags. You want to print on the non-seam side of the bag so pick through and find the ones that are the smoothest. You will need to fold over the end (see above) so the bottom of the bag doesn’t get stuck in your printer. That would make you really mad at me!!
Once you have your bag prepared and loaded in the manual feed slot of your printer, be sure your printer settings are correct. You need to set your printer to print on the same 6″x10″ size as your bag so it knows it isn’t printing on a normal sheet of printer paper. You can find that setting in your “print” menu on your computer. Each printer is different so keep searching until you find it 🙂
Be prepared for a few bags to get stuck and having to unjam the paper feed in your printer. I had a good handful that got stuck or printed off center and needed to be redone. Be patient and don’t give up. Once you figure out how to make it work best on your printer, it goes smoothly from there. I tried both our inkjet printer and our laser printer. I liked the results of the laser much better.

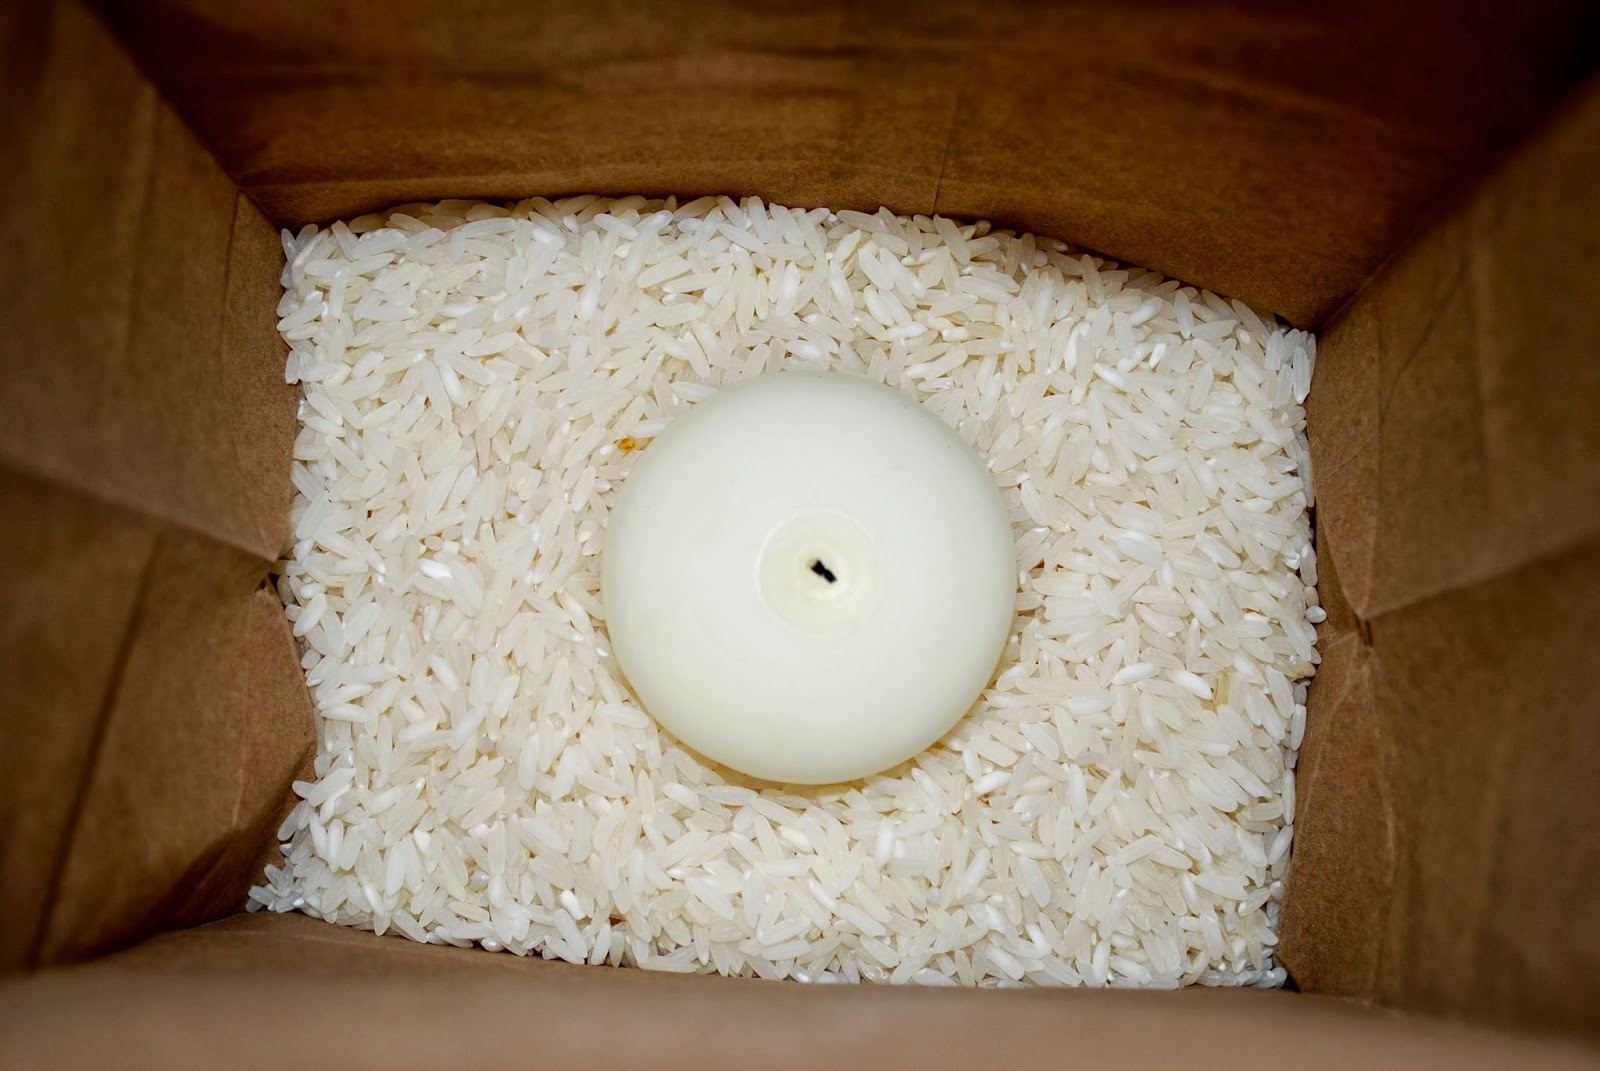
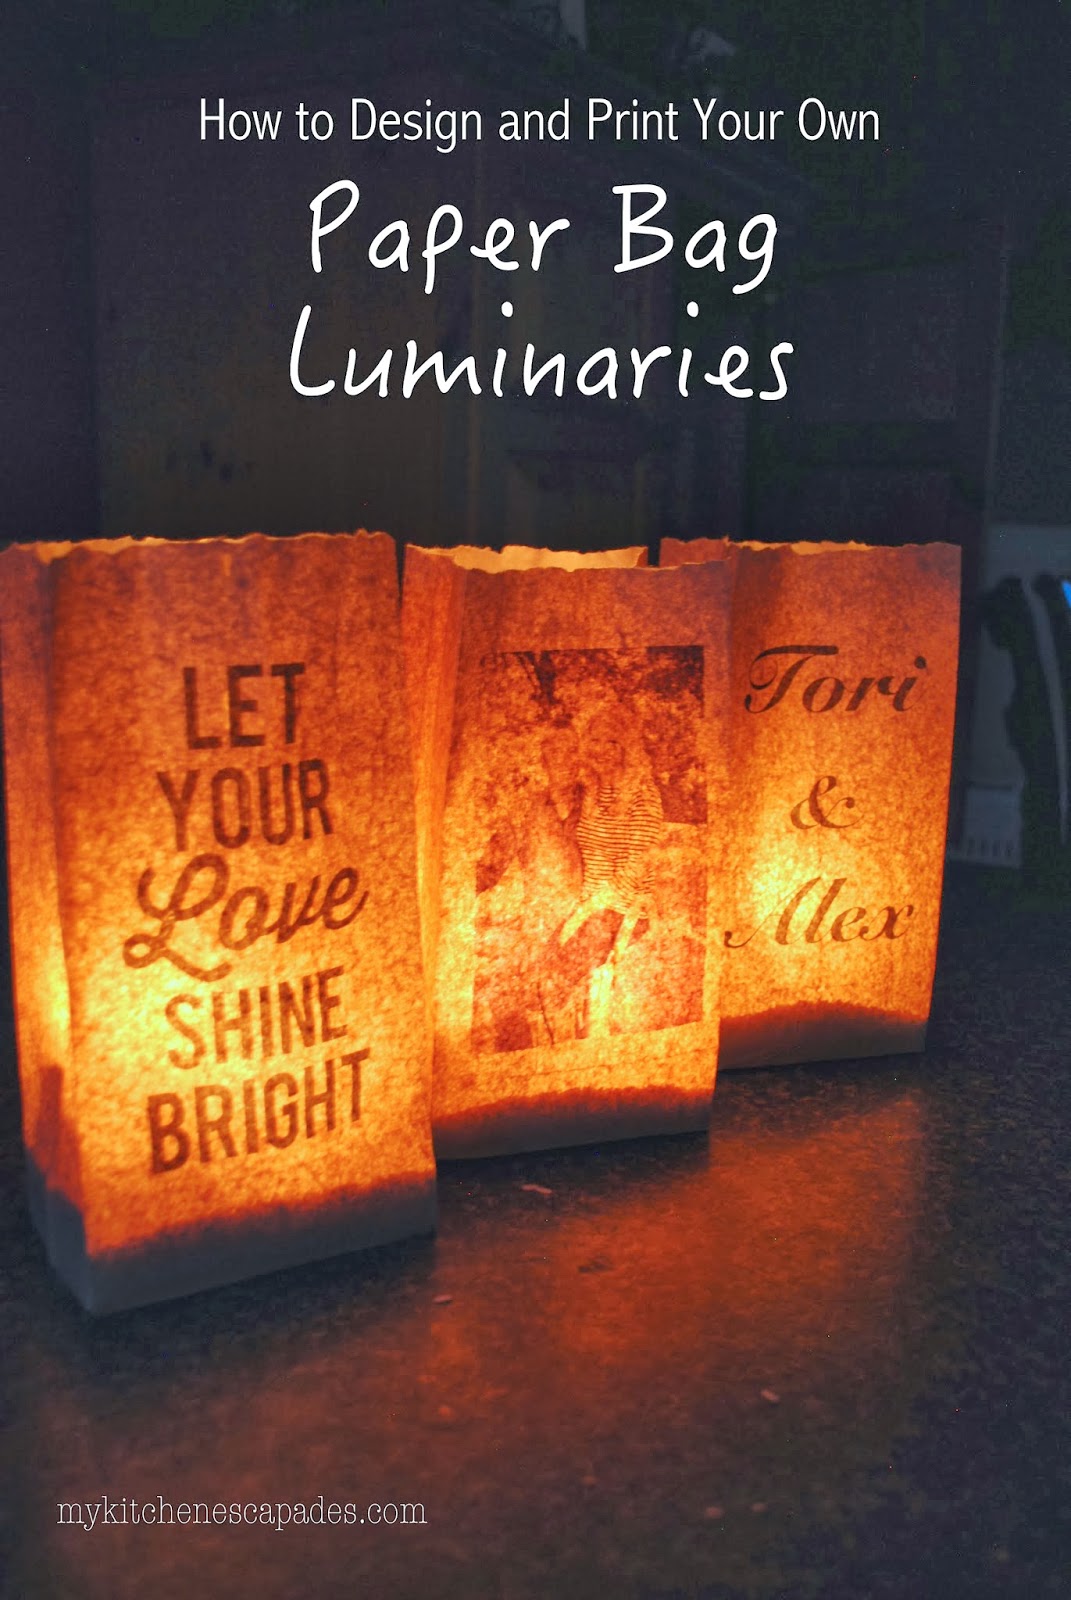
When it comes time to light these babies up, fill the bottom portion with some rice or sand then place a small candle or two inside. You can also use the flameless LED lights to keep them fire-safe!


7 comments
I love these, but don’t know if I would have the patience to figure out the printer settings. But you give detailed instructions and I’m sure it would not be that tough.
These will look perfect for your daughter’s wedding, especially if there’s a layer of fresh sparkly snow.
Love your ingenious ideas for decorating weddings! Very creative.
Thanks so much Louann! It was so much work but worth it all in the end!
[…] When you think of luminaries, you probably think of glowing paper bags. DIY this upgrade of the classic by printing pictures or quotes on them. Then fill the bottoms with sand or rice and let them light up your porch or yard with customized glow. (via My Kitchen Escapades) […]
[…] When you think of luminaries, you probably think of glowing paper bags. DIY this upgrade of the classic by printing pictures or quotes on them. Then fill the bottoms with sand or rice and let them light up your porch or yard with customized glow. (via My Kitchen Escapades) […]
Hello, I absolutely love this idea and want to do it for a 50th anniversary vow renewal. I also like the idea of using the flame-less candles. What size candles did you use or would you recommend and how much rice did you need for the bottom of your bag? Thanks so much!
Hi Autumn! I did a cup of rice in the bottom of each bag to keep them from blowing away and actually just used the small votive flameless candles but did 2-3 inside each bag.